In a visually rich world, children must learn not only how to read words—but how to read images. Visual literacy is the ability to interpret, understand, and create meaning from visual information. For children between ages 2 and 6, creating and using educational posters at home can build this skill while reinforcing foundational concepts like letters, numbers, routines, and emotions.
This article will show you how to make effective, child-friendly posters at home and how they support early literacy, independence, and learning.
What Is Visual Literacy?
Visual literacy includes the ability to:
- Recognize and name shapes, colors, and symbols
- Understand picture-based instructions or stories
- Interpret facial expressions or body language in illustrations
- Relate pictures to words or concepts
- Create their own visual representations of ideas
In early childhood, visual information often comes before verbal fluency. That’s why posters can help bridge the gap between understanding and expression.
Why Educational Posters Work for Kids
1. Make Concepts Tangible
A poster provides a permanent, visible reference for routines, words, or numbers. Unlike fleeting verbal instructions, posters can be returned to again and again.
2. Build Independence
When children can “read” a visual chart on their own, they start managing:
- Morning routines
- Emotions
- Simple tasks like washing hands or brushing teeth
Visual cues empower children to own their learning.
3. Support Multiple Learning Styles
Posters work well for:
- Visual learners: who prefer seeing over hearing
- Kinesthetic learners: who can interact with or move icons
- Auditory learners: when posters are paired with songs or spoken explanations
They also complement other tools like books, puzzles, and hands-on play.
Types of Educational Posters You Can Make at Home
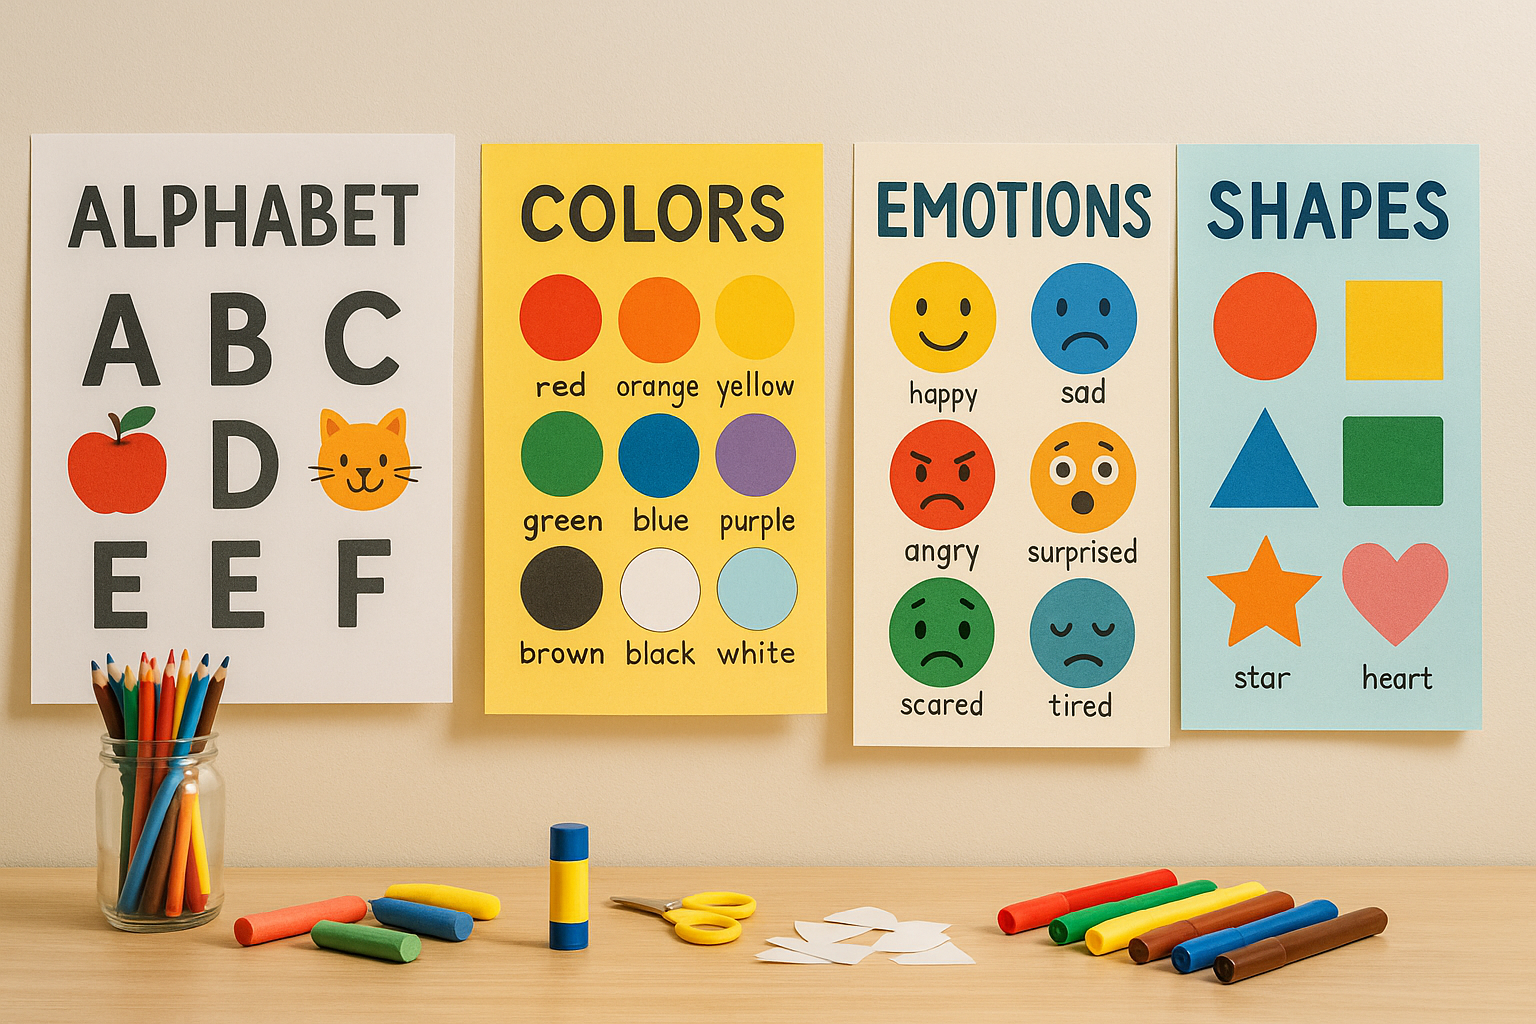
1. Alphabet and Letter Posters
Create a poster with each letter and a matching image:
- A for Apple
- B for Ball
- C for Cat
Make them with real photographs, hand-drawn art, or magazine cutouts. Use both uppercase and lowercase letters.
Tip: Let your child help decorate each letter—it builds ownership and memory!
2. Number Posters (1–10 or More)
Show numbers alongside:
- Countable objects (e.g., 5 apples, 6 ducks)
- Tally marks
- Dice dots or fingers
This builds number sense—the ability to relate quantity to numeral.
3. Daily Routine Chart
Visual routines help children feel calm and secure.
Include images for:
- Wake up
- Brush teeth
- Get dressed
- Eat breakfast
- Playtime
- Nap
- Reading
- Bedtime
Use Velcro or magnets to rearrange or check off tasks.
4. Emotions and Feelings Chart
Use expressive cartoon faces or photos to show:
- Happy
- Sad
- Mad
- Excited
- Nervous
- Tired
Ask daily: “How do you feel today?” and let your child point to the face. This builds emotional awareness and empathy.
5. Shapes and Colors Chart
Include:
- Circle, square, triangle, rectangle, star, heart
- Red, blue, yellow, green, purple, orange, black, white
Use different textures, buttons, or colored paper for sensory interaction.
6. Weather and Calendar Poster
- Days of the week
- Months
- Weather symbols (sunny, rainy, snowy, cloudy, windy)
- A daily “what’s the weather today?” routine
This introduces time concepts and environmental observation.
7. Chore and Responsibility Poster
Even toddlers can take pride in helping.
Include:
- Put toys away
- Help feed the pet
- Water the plant
- Wipe the table
Add photos of your child doing each task for personalization.
8. Story Sequence Posters
Create posters that tell a familiar story in 3–5 steps with pictures.
Example: Making a sandwich
- Get the bread
- Add filling
- Put the bread together
- Eat it
- Clean up
This supports sequencing, memory, and comprehension.
How to Make Posters at Home
Materials:
- Poster board or cardboard
- Construction paper
- Glue or tape
- Markers or crayons
- Scissors (child-safe if involving kids)
- Printed photos or magazine images
- Laminating sheets or clear contact paper (optional for durability)
Steps:
- Choose a clear focus (e.g., numbers 1–5).
- Plan the layout with simple sections.
- Use big, bold fonts and bright visuals.
- Avoid clutter—leave space around elements.
- Involve your child in decorating or gluing.
- Hang posters at your child’s eye level.
Pro Tip: Rotate posters every few weeks to keep things fresh and interesting.
Interactive Poster Ideas
Make posters come alive with:
- Velcro-backed pieces to move or match (e.g., number match, shape sort).
- Dry-erase markers for tracing or circling.
- Mini clothesline and clips to attach drawings or pictures.
These hands-on tools encourage active participation.
Integrating Posters into Daily Life
Use your posters throughout the day:
- Morning: “Let’s check our weather chart.”
- Mealtime: “Can you find a fruit on the alphabet chart?”
- Playtime: “Which color are you using?”
- Cleanup: “Let’s mark off your chores!”
The more you refer to the posters, the more your child will too.
Wrapping Up: Visual Learning Is Powerful Learning
Educational posters are more than decorations—they’re invitations to learn, think, and communicate. Whether it’s identifying emotions, tracing letters, or counting ducks, posters make concepts concrete and accessible for little learners.
And when you create them together, you’re not just making art—you’re building language, literacy, confidence, and connection.